Welcome to the exciting world of self-publishing! If you've ever dreamed of seeing your words come to life in the form of a published book, Kindle Direct Publishing (KDP) is your gateway to making that dream a reality.
In this step-by-step guide, we will walk through the entire process of publishing your book with KDP, from start to finish.
Getting Started with Kindle Direct Publishing
Formatting your Manuscript for KDP Publishing
The steps you take to publish your book on KDP will vary depending on whether your book has illustrations and on the book format (hardcover, paperback, ebook) you select.
If you plan to publish your book as a paperback, hardcover, or an ebook that does not have illustrations, then it is recommended to upload your manuscript as a formatted pdf file. If you used StoryBookWriter to write your book, then you can easily download a pdf version of your book. You can follow the steps in this section to complete the self-publishing process - Self-Publishing with Kindle Direct Publishing.
If you plan to publish your book as an ebook and it does have illustrations, then you must use Kindle Kids' Book Creator to format your book's manuscript. Luckily this process is easy, and made easier with our guide below.
Formatting your illustrated children's book manuscript with Kindle Kids' Book Creator
If you have an illustrated children's book that you want to publish as an ebook on kindle direct publishing, then you must format your book using Kindle Kids' Book Creator. You will need a pdf version of your book's manuscript, which StoryBookWriter provides by default if you used it to write your book.
- Start by downloading and Installing Kindle Kids' Book Creator
Open the software and click on Create a New Kids' Book

Click Continue
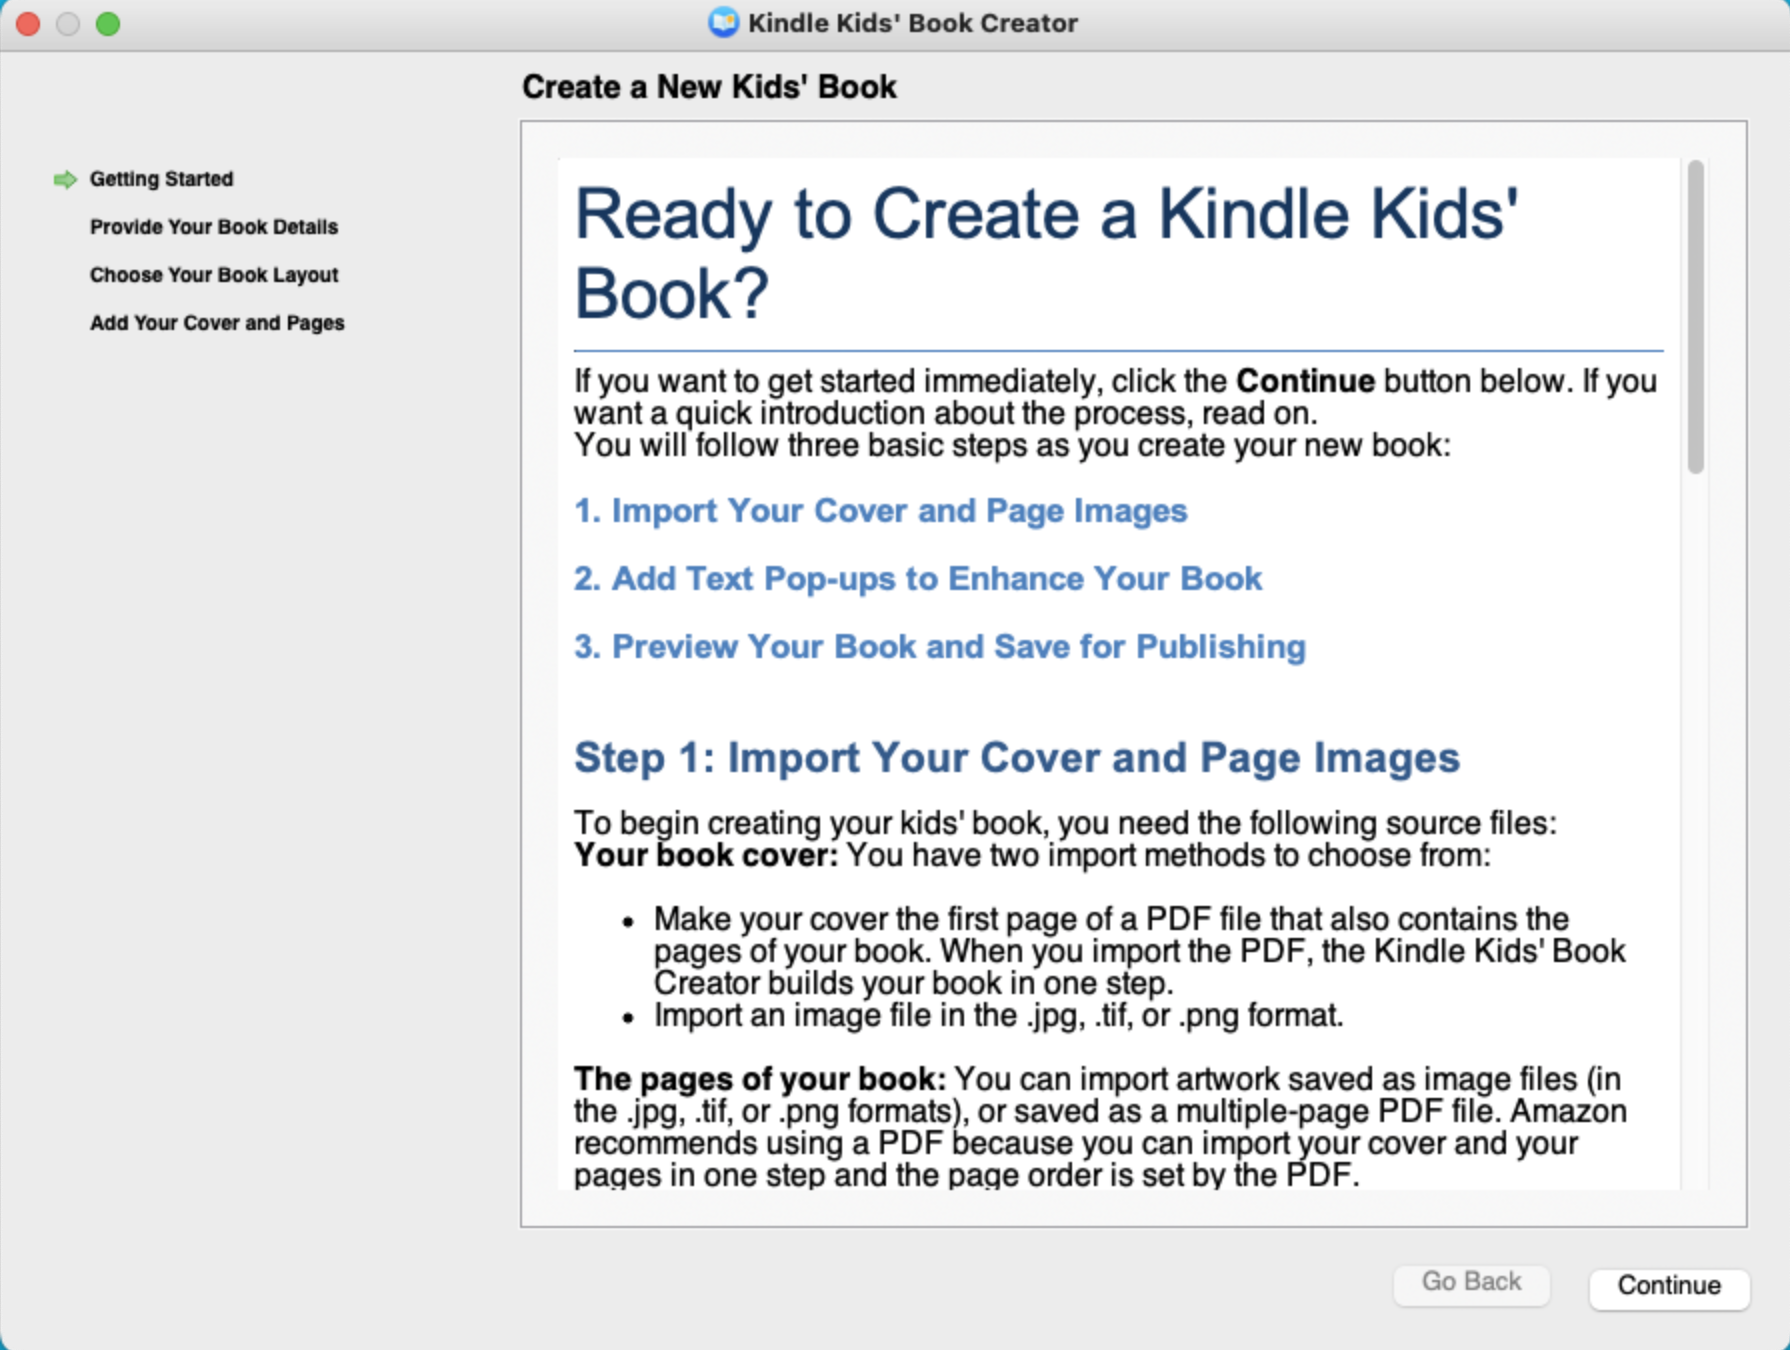
Provide the required information - Author, Title, Language, etc. - and click Continue
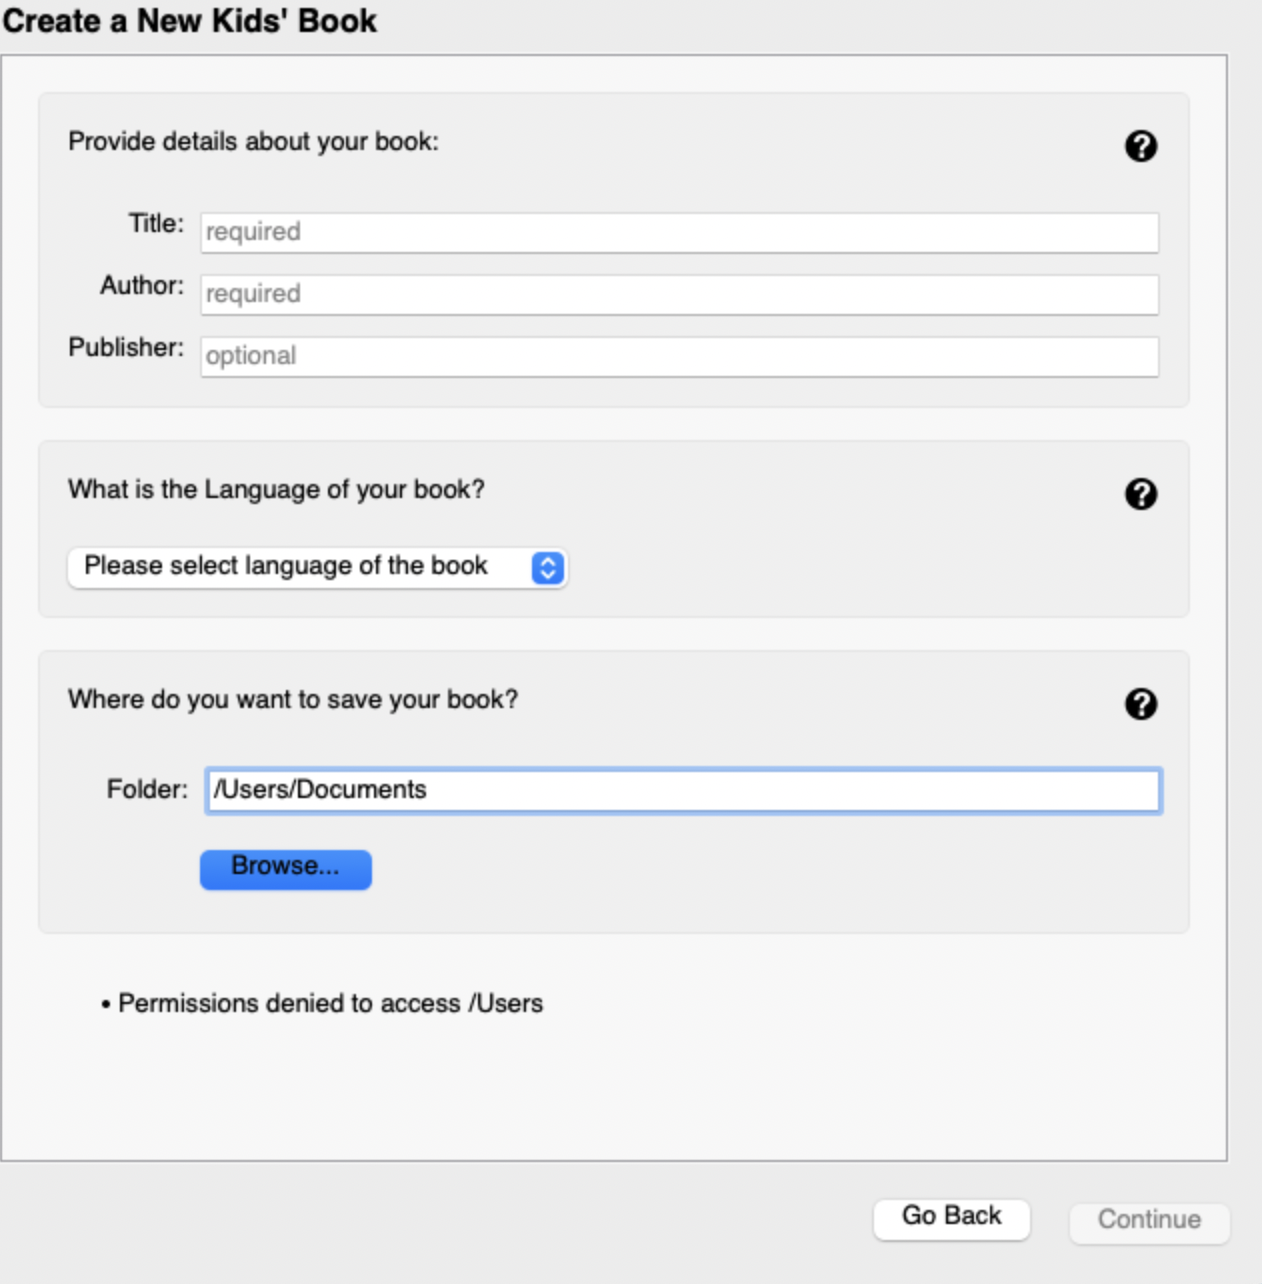
Make a note of the folder that your book will save to for later.
Select your preferred book format options and click Continue
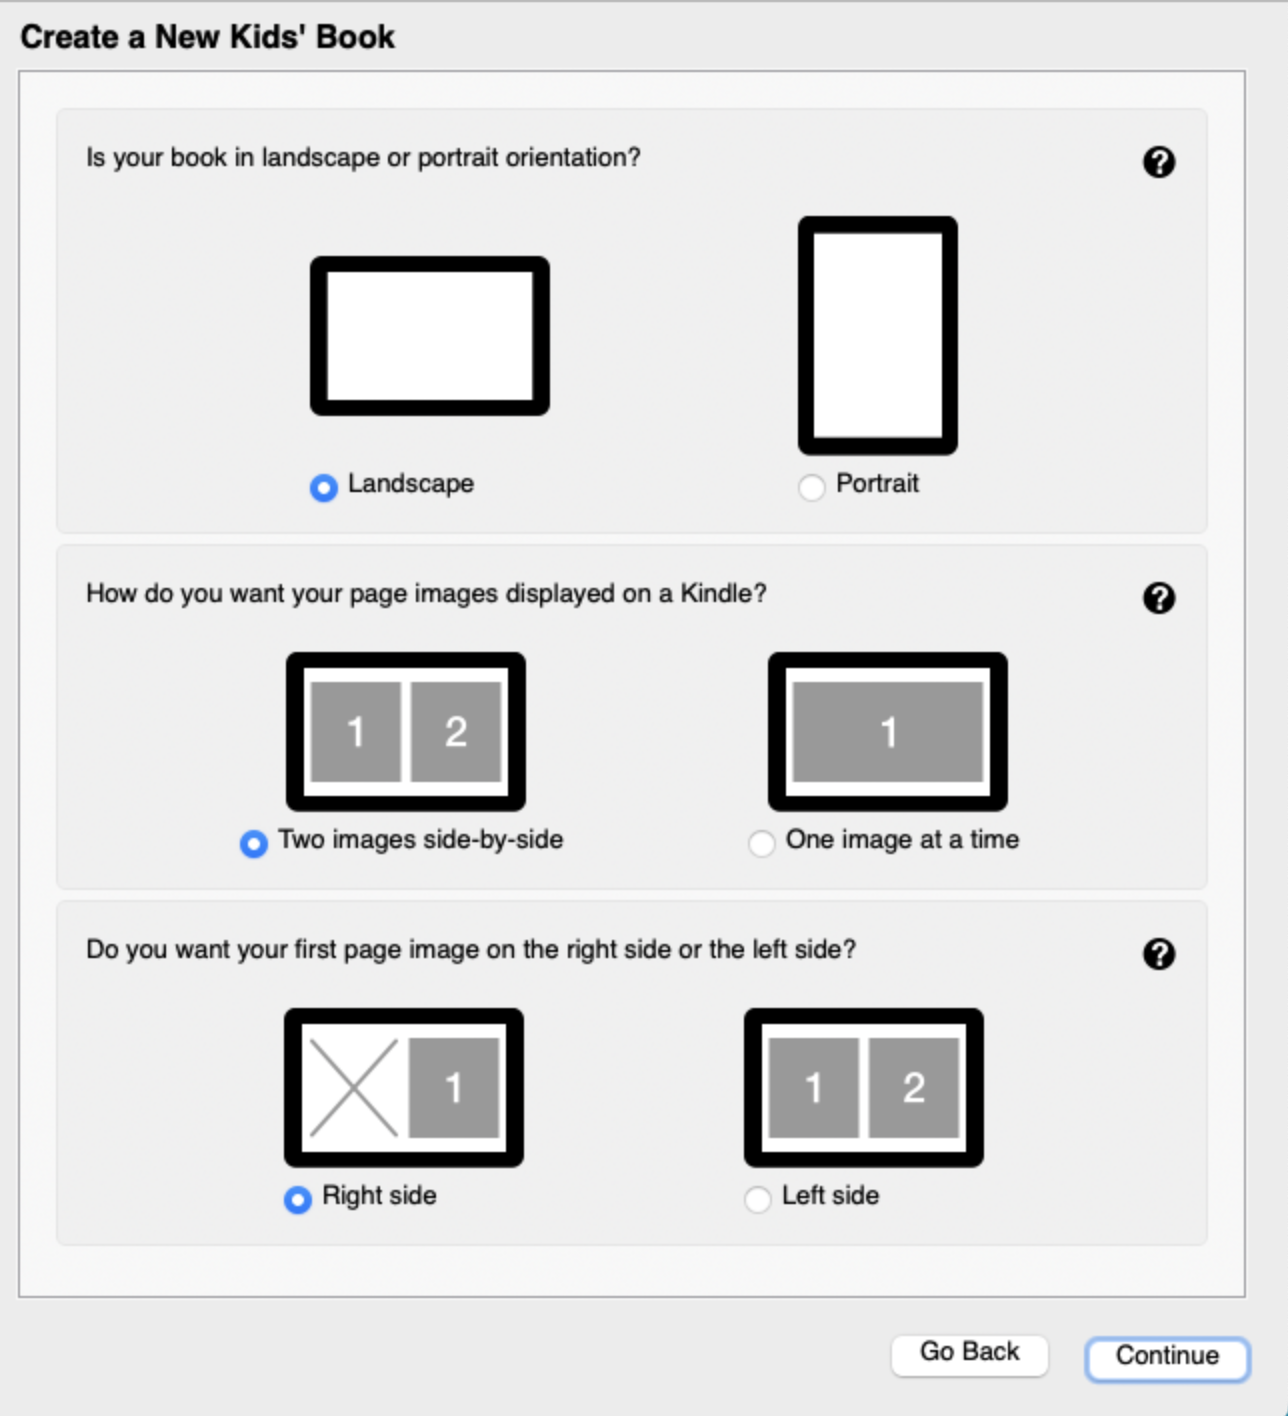
If you are using the pdf of your book downloaded from StorybookWriter, then you want to select Portrait Orientation for an easy transition.
Select Import your entire book, including the cover, from a PDF. Then click the Create Book from PDF button.
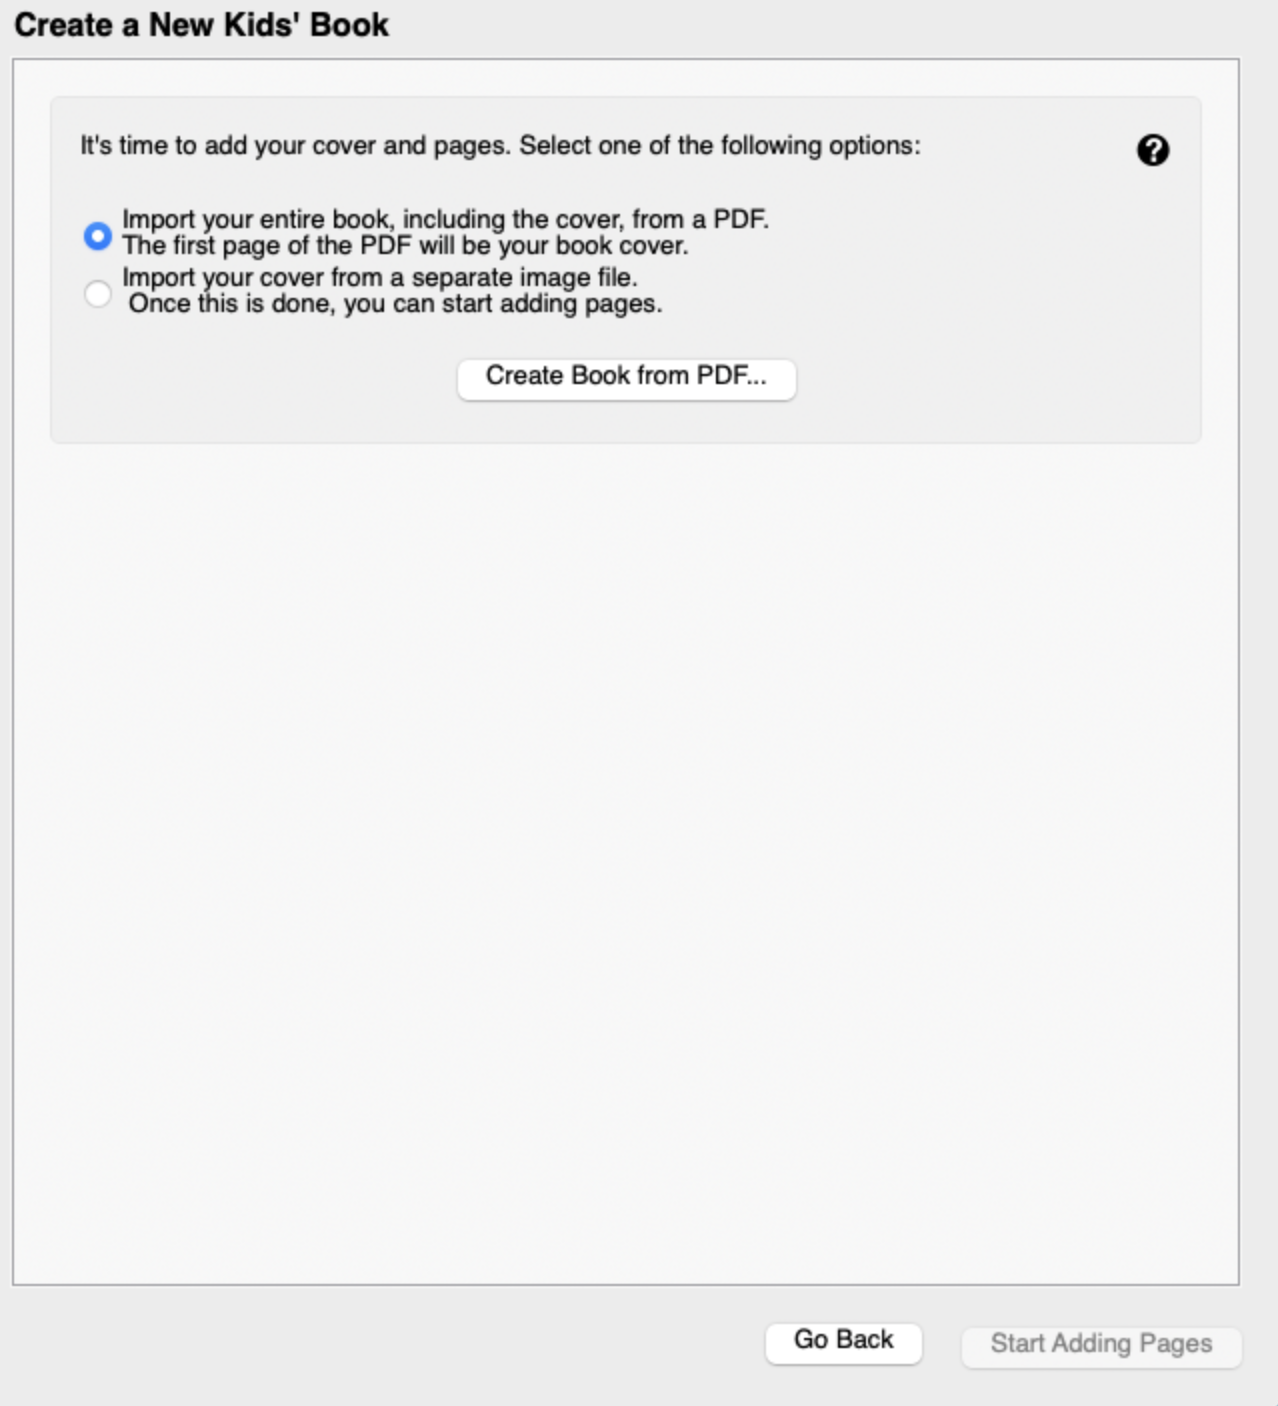
Select the PDF of your book
Once your pdf is uploaded, you will see the pages of your book in the Kindle Kids' Book Creator tool. Review your pages and once you have confirmed that everything looks good, go to the File menu and select Save for Publishing.
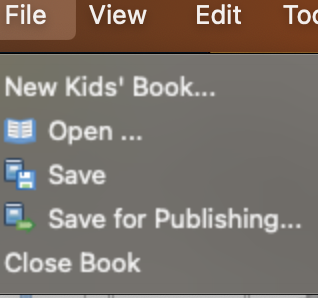
- Now if you go to the folder your book was saved to (see step 4 which determined which folder that is), you will see a folder with the title of your book. If you click into that folder, you should see a .mobi file with the name of your book. You will need this file later when it is uploaded to kindle direct publishing.
Self-Publishing with Kindle Direct Publishing
- Go to https://kdp.amazon.com/. If you don't already have an account, create one.
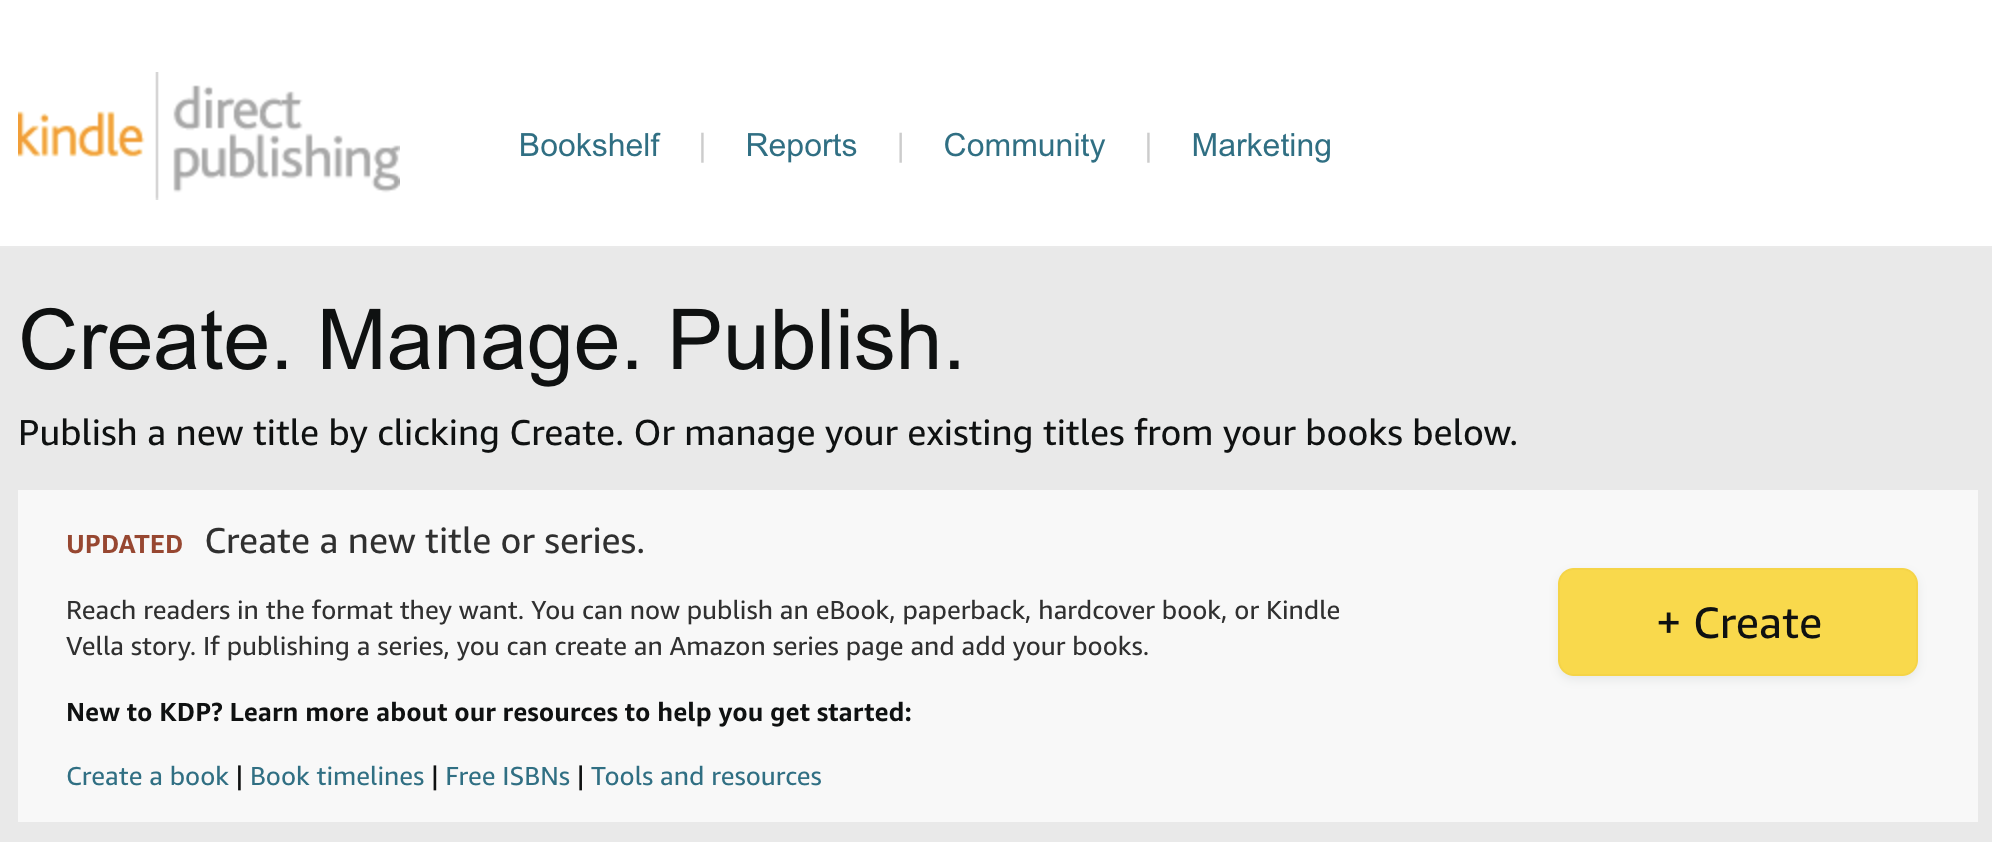
Click Create to add your book to your bookshelf
Select from the following options - ebook, hardcover, paperback
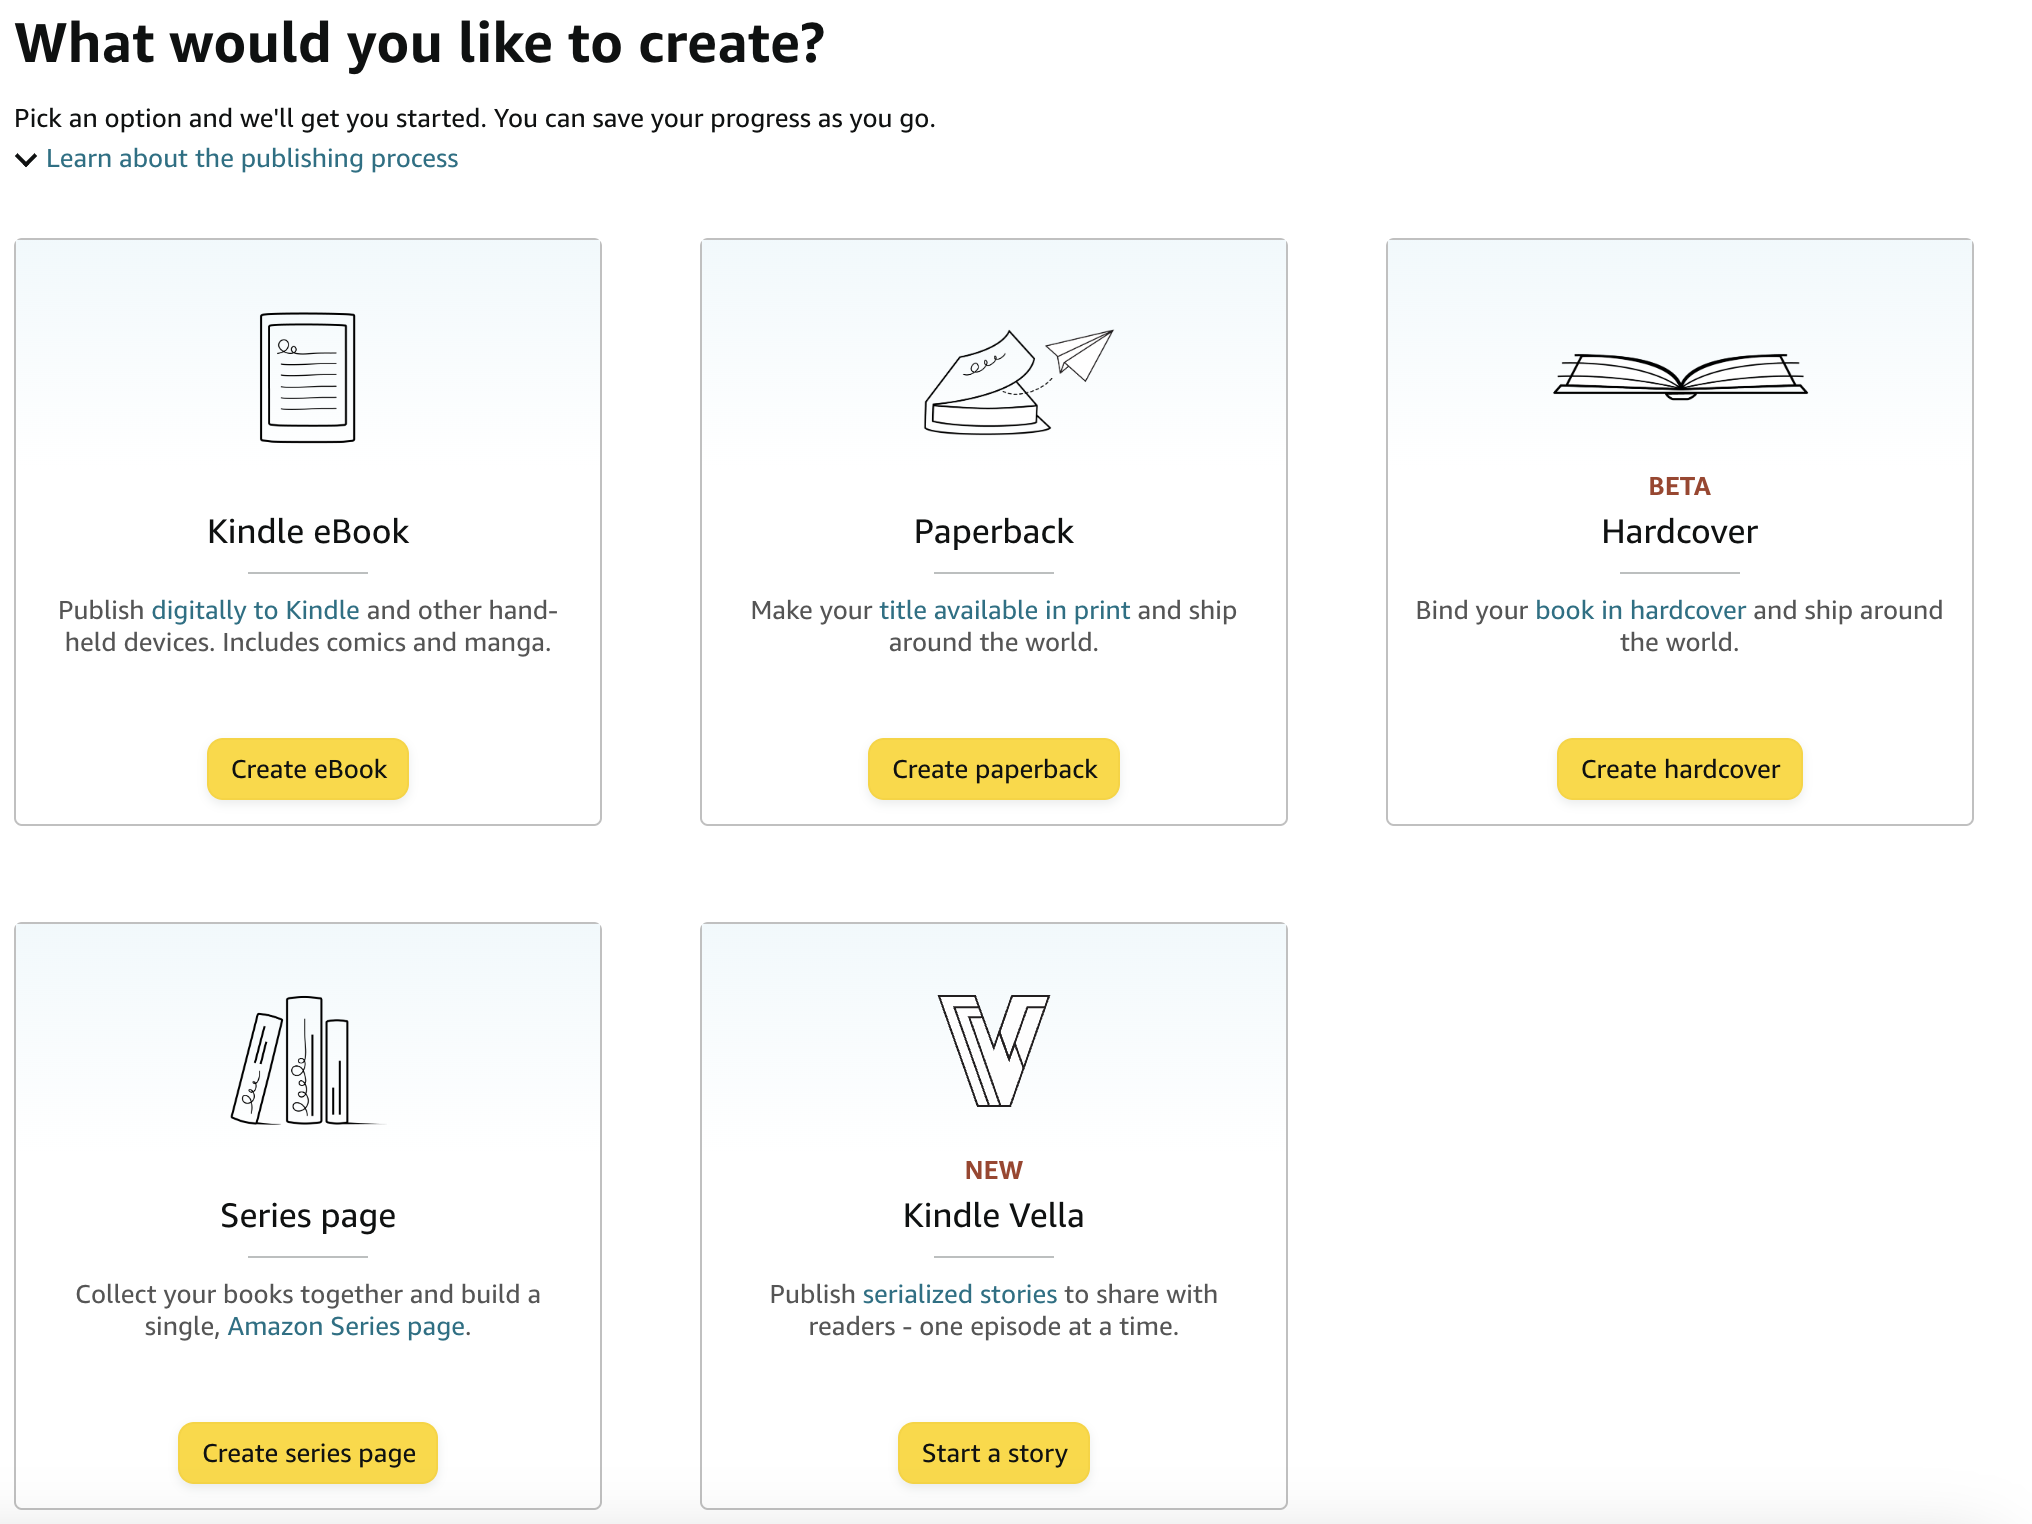
Please note that paperback books need a minimum of 24 pages, and hardcover books need a minimum of 75 pages.
For paperback and hardcover books, the pdf downloaded from StoryBookWriter will be most compatible with the 6x9 page size, which is Amazon's default and one of the standard recommended sizes for paperback books.
Fill out the guided Book Details form which includes specifying the book title, providing a description of your book, selecting categories and keywords so your book can be listed in the appropriate topic areas that customers search for, and selecting your target audience.
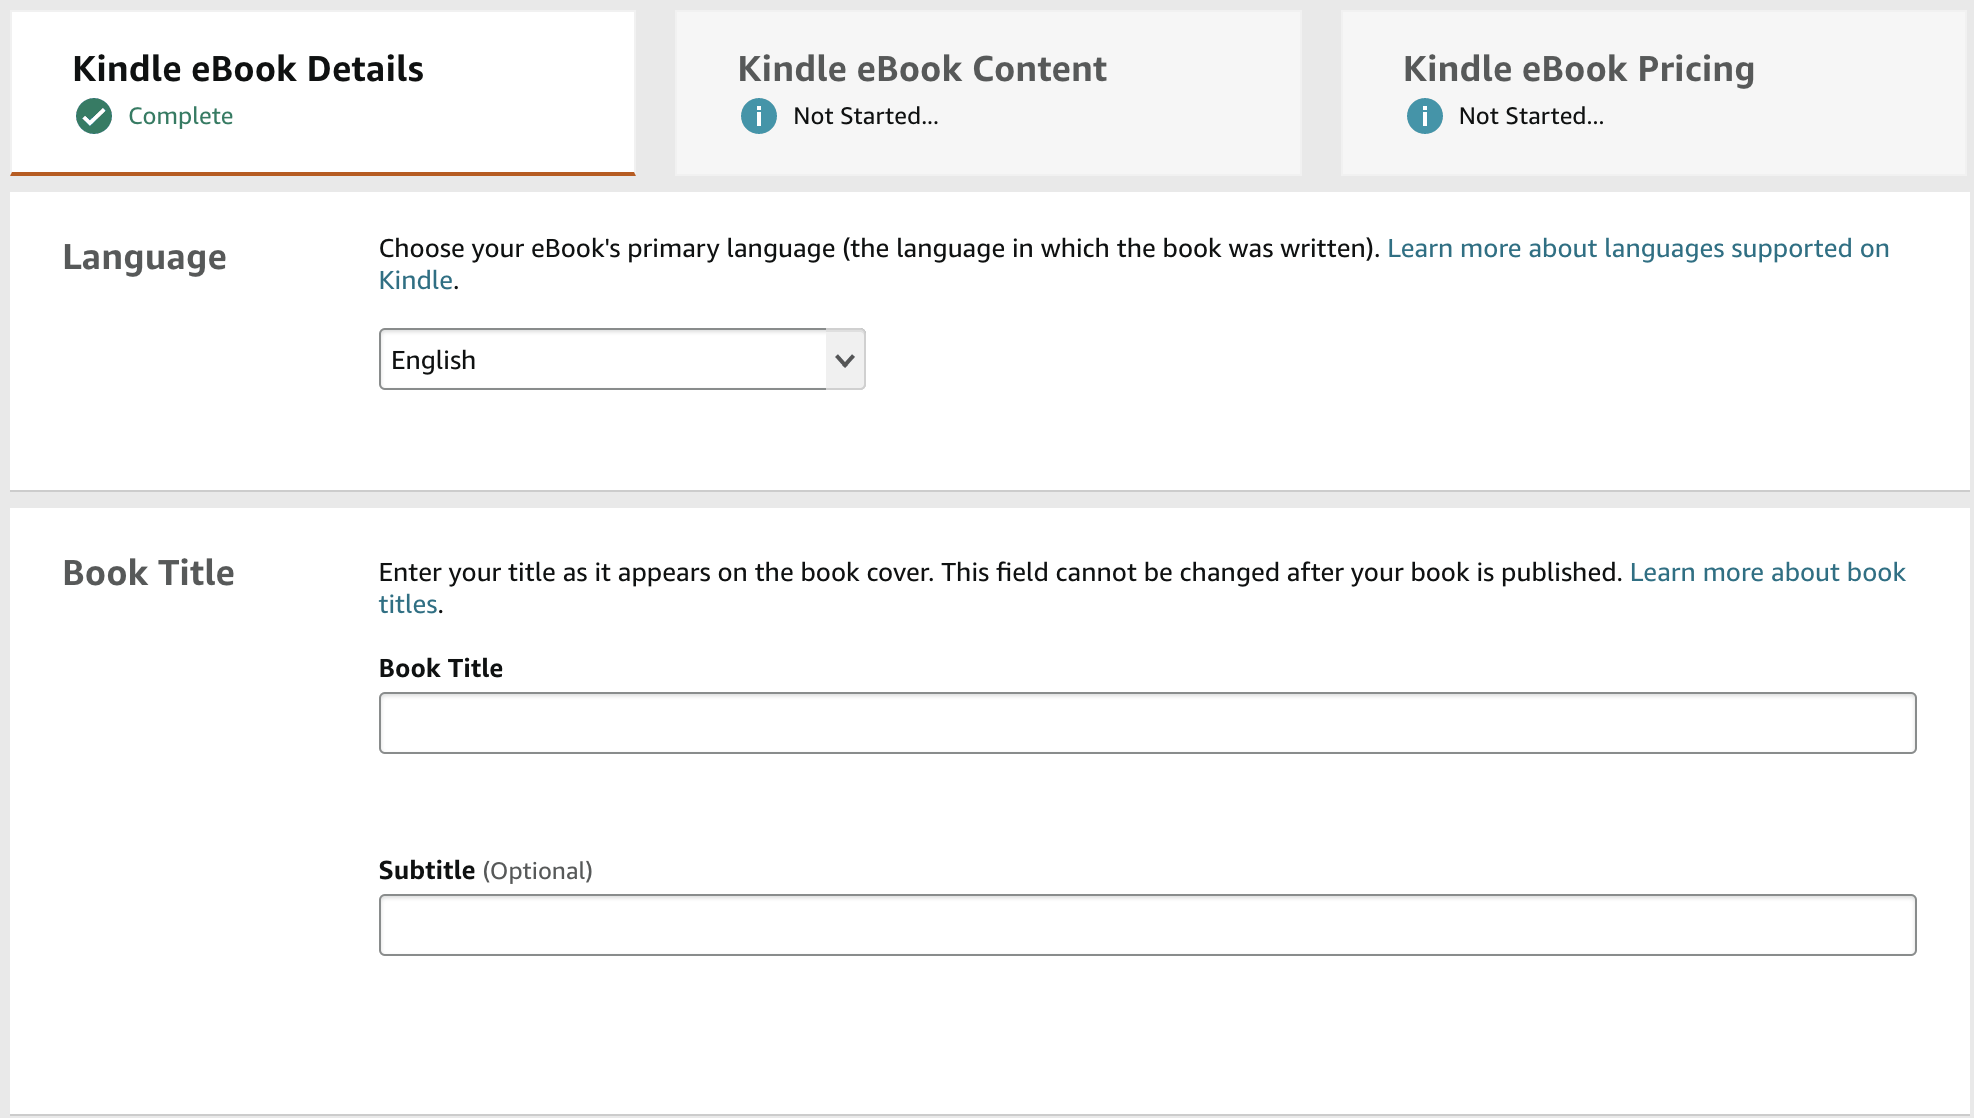
After providing your book's details, you will be taken to a second form to upload your book's content. If you are publishing an illustrated ebook, this is where you upload the .mobi file that is named with your book's title. When you used Kindle Kids' Book Creator it saved your book's .mobi file in a folder named after your book's title. Upload the .mobi file to the manuscript field in kindle direct publishing.
If you are publishing a paperback, hardcover, or ebook without illustrations, then you can upload the pdf file of your book.
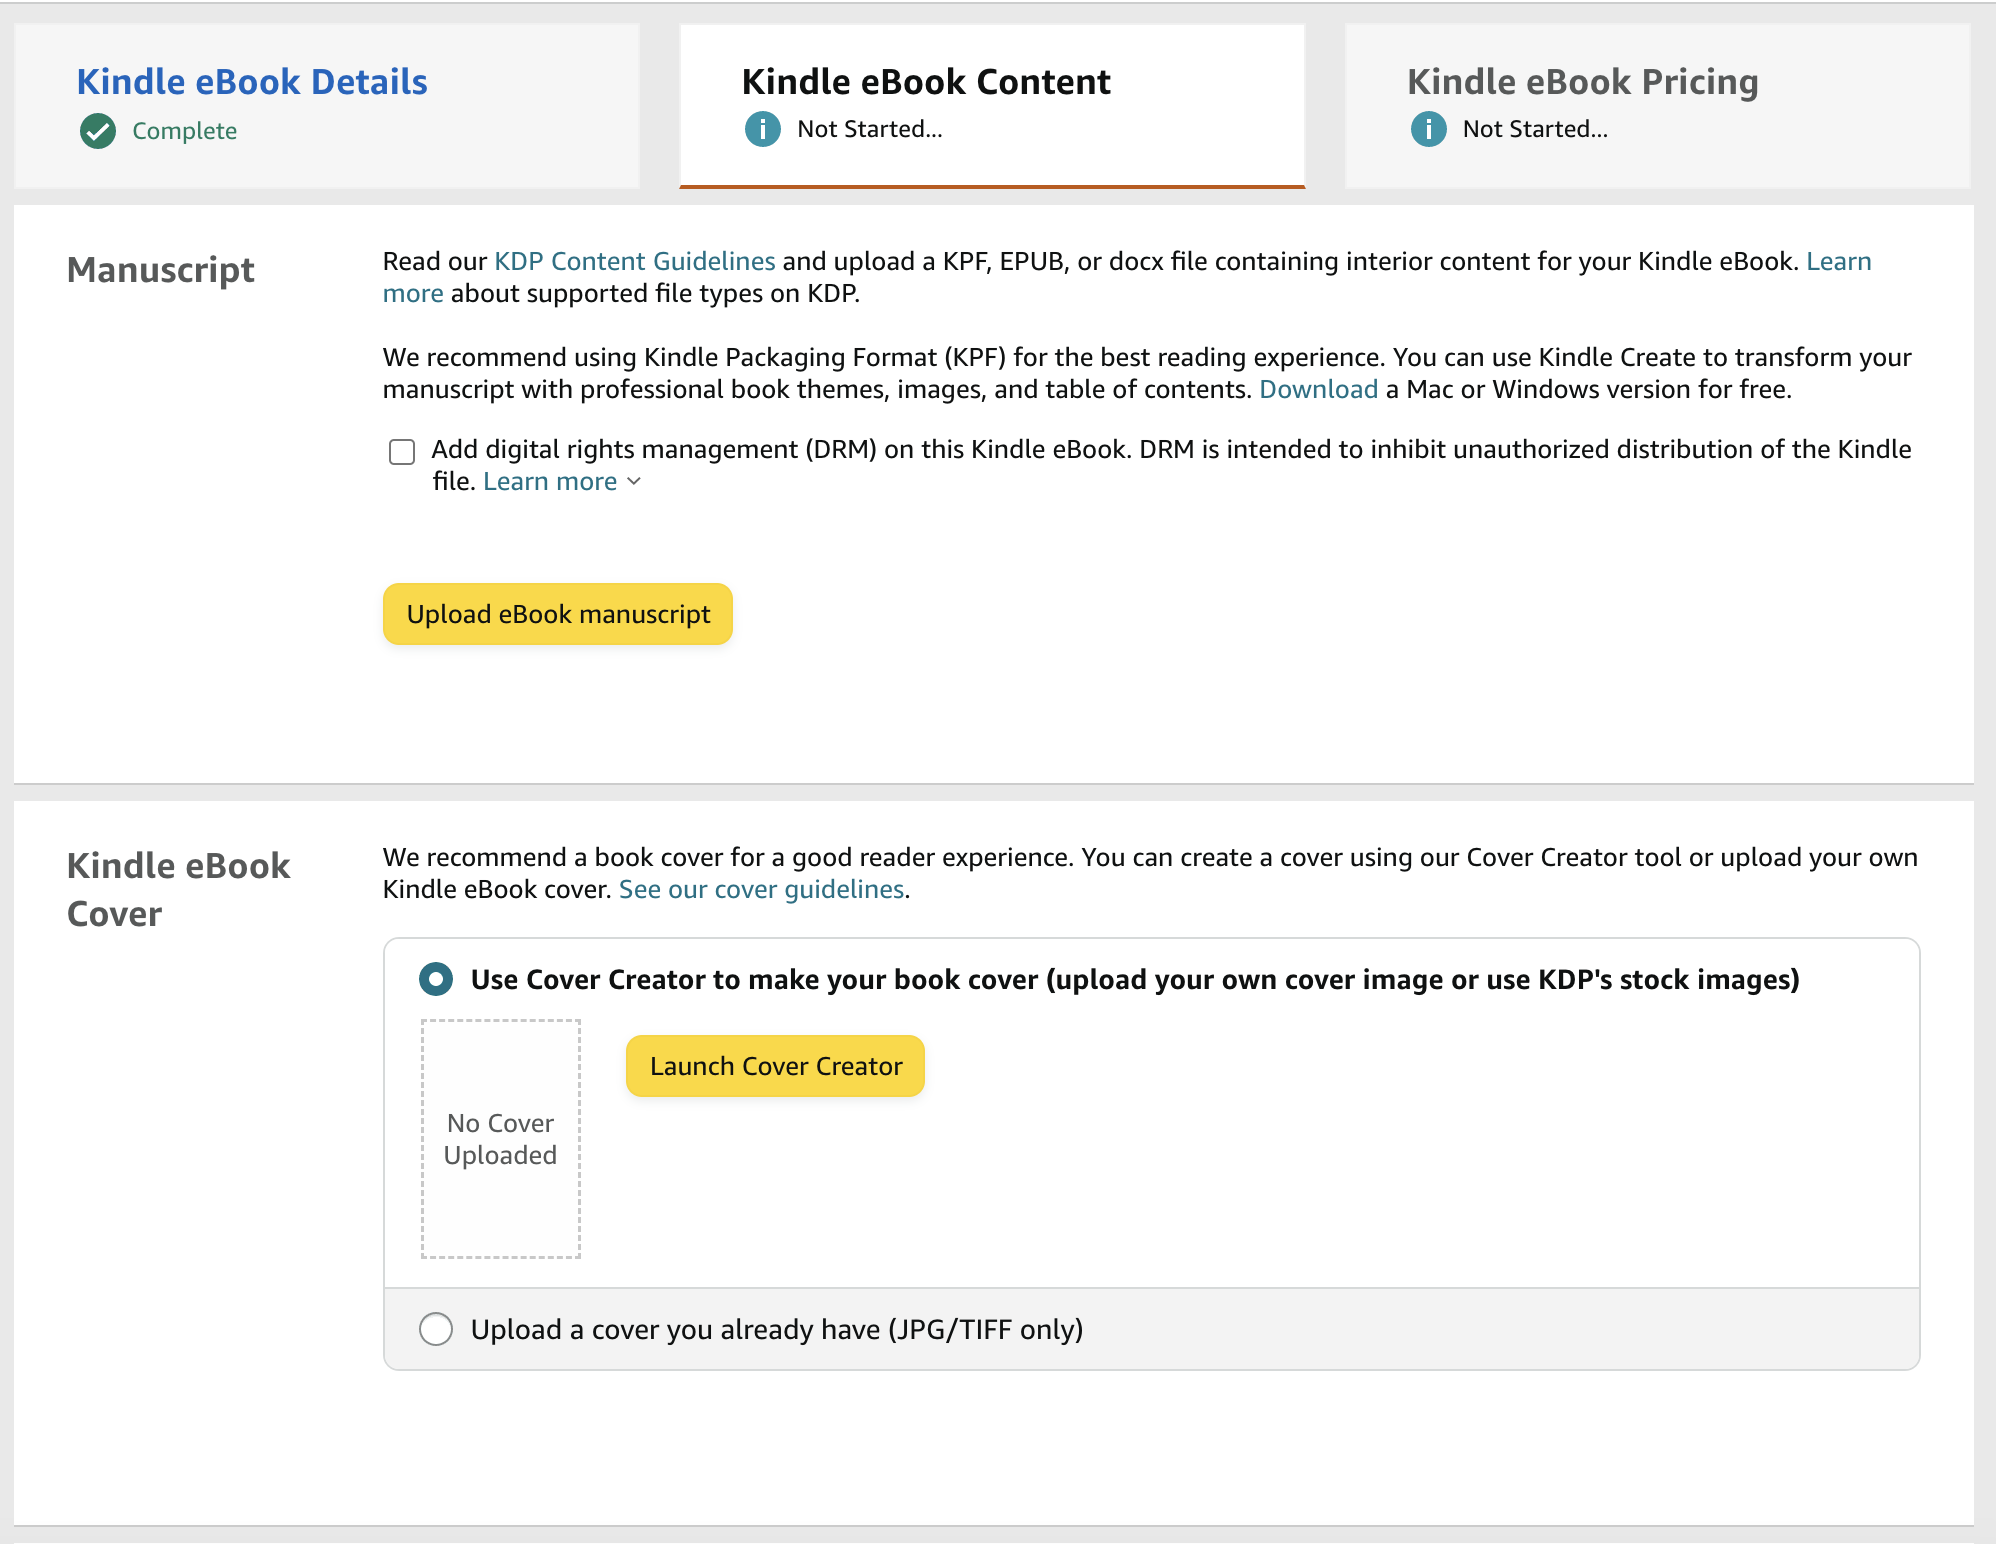
You can use kindle direct publishing's launch cover creator to easily create a book cover.
You do not need to provide an ISBN number. Amazon will provide one for you for free if needed. Ebooks do not require an ISBN number.
After you submit the content for your book, the next and last form you will fill out is the book rights and pricing form. The main component of this form is setting the price of your book. Amazon will show you the royalty estimates of your book based on the price you set for your book.
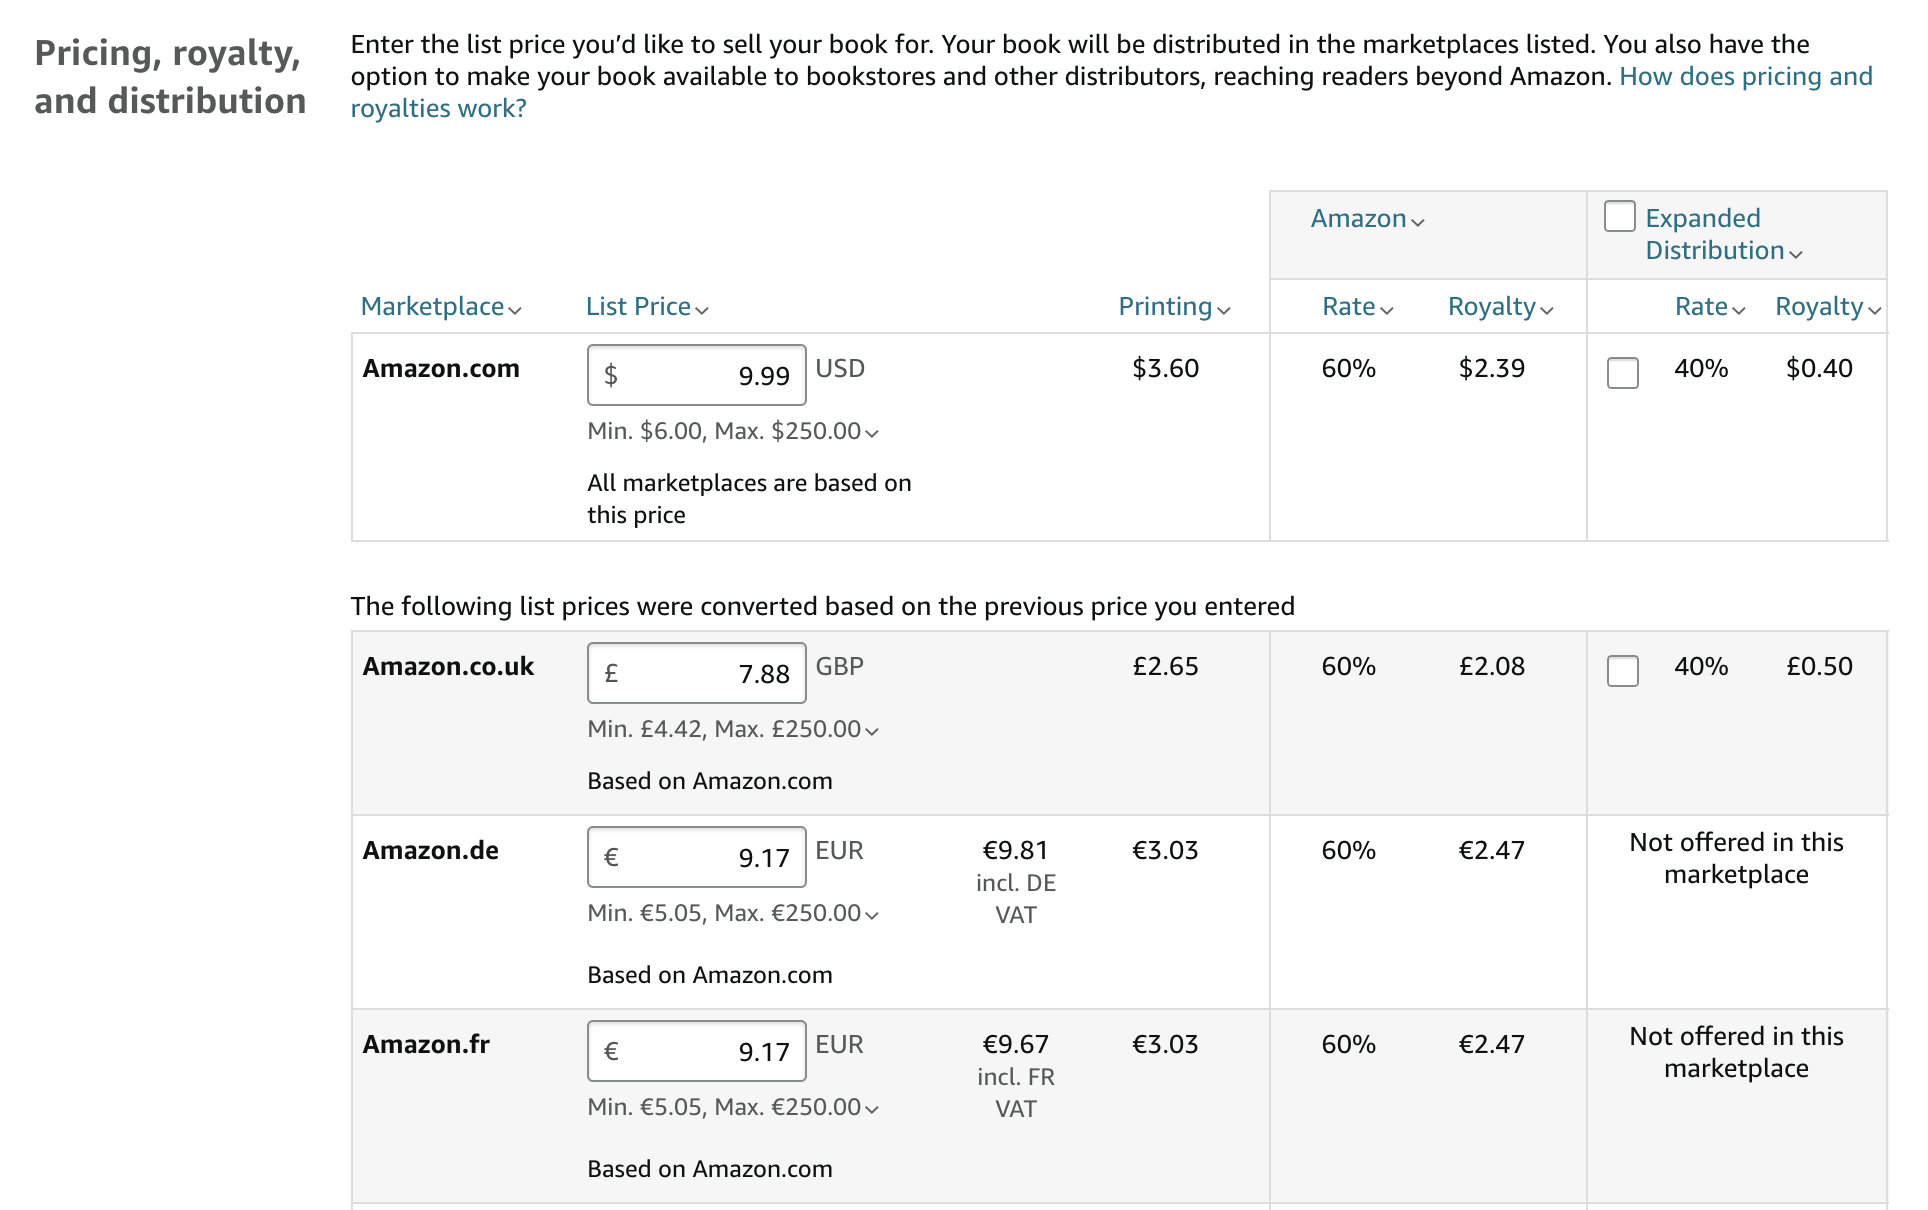
Once you finish submitting your book details, book content, and book pricing information, you can preview your ebook or request a proof of your paperback or hardcover book. This can be found at the bottom of the third form - Book Rights and Pricing Form. After you ensure everything looks good, you can submit your book for publishing. The submit button is at the bottom of the Book Rights and Pricing Form.

Once you submit your book for publishing, it can take up to 72 hours for Amazon to approve your book. With Kindle Direct Publishing, you can easily offer your book in different formats, such as ebook and paperback. Once you complete the kdp publishing forms for one book format option, it's easier to do it for the other options as well.
Congratulations! You have successfully navigated the Kindle Direct Publishing process. Remember, the journey doesn't end with publication; it's just the beginning of your author journey.
